If you are looking for a guide to Koi pond, you have landed on the right page.
Many believe that the koi bring prosperity and good luck.
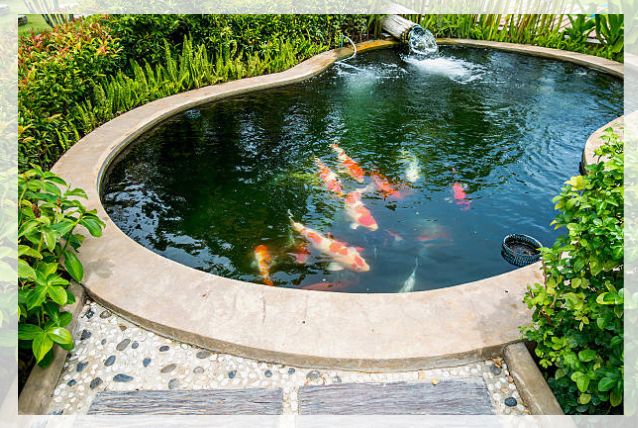
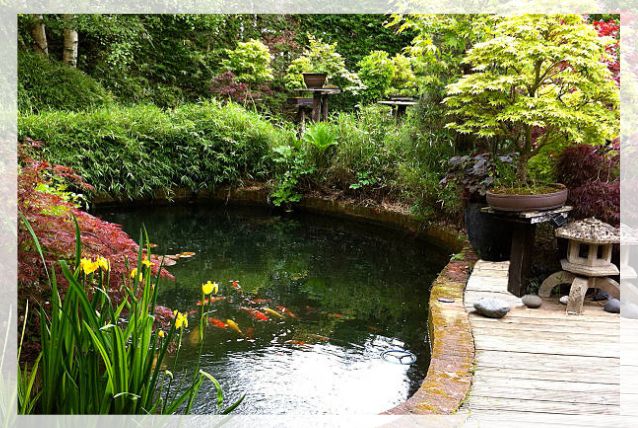
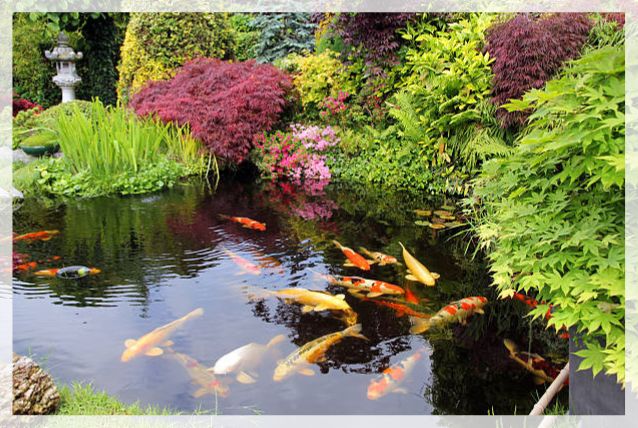
True or not, what is certain is that these fish with bring a splash of swirling color and a serene presence to your yard.
As koi are so hardy, maintenance is minimal.
It is important to note that installing a koi point is not cheap and can cost you $10,000 to $20,000 when professionally installed.
If you maintain it professionally, the cost per year on average is $3,000 or you can do the upkeep yourself for $500 to $1,000.
This depends on how big your pond is and how many fish you have.
If you are making a koi pond from scratch, you can save a considerable amount of money by building one for under $2,000.
The mechanical parts like pumps and filters will be the most expensive outlay and you can bring down the expenses by planning out a smaller one, digging out the trench getting a prefabricated koi pond liner, and buying smaller, less expensive domestic koi fish.
Keep on reading.
Koi Pond: Before you begin Planning
When planning for a koi pond in your backyard, you will need to budget out materials, tools, and time.
The larger the pond is, the more expensive it will become and the longer it takes.
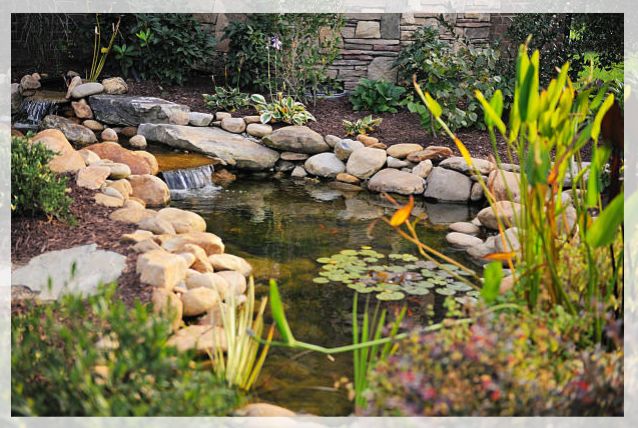
You can expect that your pond will need to go at least 3 feet deep and you will need to plan for a water pump, filtration system, aeration, pond liner, surface skimmers, fish and foods, and surrounding landscape.
Or you can consider building it on a hill if you want features like a fountain or waterfall.
Moreover, when making a waterfall, you will need to use excavated dirt to form your cascades or contours for the waterfalls.
It is important to note that koi ponds will not need a waterfall, however, besides looking lovely, they tend to provide aeration which your fish need to survive.
Learn more about How to Design Soft Landscape Works? here.
Things to Consider
Before starting a koi pond, you should know what you are getting into. Things to consider are:
Cost: Koi fish can be expensive, ranging from around $15 for a smaller fish to thousands of dollars.
The more expensive the fish the more the cost will be.
Their size is also an element in their value.
It is important to note that koi can live in excess of 100 years, however, when you care for them.
Moreover, the fish will continue to grow throughout the span of their life, so it is only those older, larger fish that fetch the sum of thousands.
These fish demand a large environment, and it will also cost you.
Generally, the ideal size of the Koi pond is over 1,000 gallons and at least three feet deep.
Size: Your koi fish will need a lot of space.
1,000 gallons is at least three feet deep, and a six-foot by eight-foot pond can yield 1077 gallons.
However, these are minimum recommended requirements.
The more fish you have, the larger pond you will need. For instance, if you want 15 koi, you will need about 3,200 gallons.
Climate: One thing to consider is the climate. In a 3-foot deep pond, koi can survive about 6 inches of surface ice, however, the pond will need to retain contact between air and water.
You can achieve this with a bubbler, or de-icer.
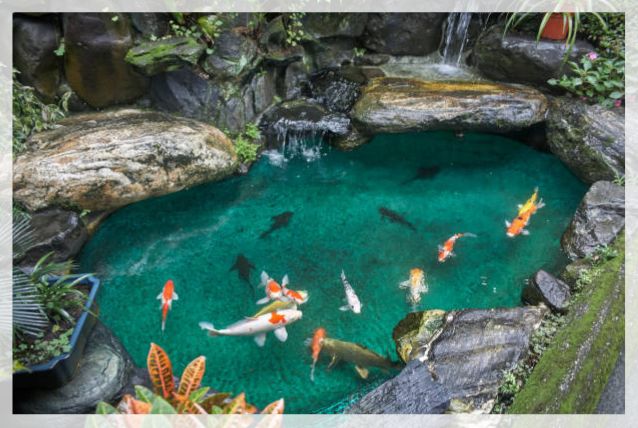
Moreover, a fountain or waterfall is a good idea to help increase aeration in the water.
Other Installations: though koi are hardy fish, you will need to provide them with adequate equipment to keep them healthy.
Filtration: Your pond will need proper filtration, including biological and mechanical filters.
Moreover, a bottom drain is a good idea as it will help with water changes.
Pond water maintenance is as important as aquarium water maintenance.
Predators: Koi are susceptible to outside predators.
You will need to consider some kind of defense system like netting or electric fencing.
Learn more about Hard Landscape Works here.
Basics of a Koi Pond
With a koi pond, you are building not just a garden pond but a habitat for living creatures.
The need to koi will help find the many aspects of the pond itself.
Pond Depth: Though classified as coldwater fish, koi will not necessarily love cold water.
Not do they do well in warm water. You will need to keep the water temperature moderate, about 59F to 77F.
Moreover, the correct pond depth will help koi regulate their own temperature.
Thus, the pond should be at least 3 feet deep so that the fish can descend and stay cool in summer.
Pond Dimension: Your pond should be 1,000 to 1,500 gallons at minimum.
For ten or more koi, you will need double the capacity, i.e. more than 3,000 gallons.
Location: Picking the right location for your pond is important for the health of the koi, as well as for water quality.
Keep the pond relatively close to your home so that you can bring the hose from the outside faucet of the house to the pond.
The side of the house also provides access to an exterior electrical outlet. Keep the pond closer to encourage regular maintenance.
You will also need to consider the balance of sun and shade throughout the day.
Ponds in full sun grow algae than ponds in shaded areas.
Thus, for the sake of your koi fish, keep the water temperature moderate.
Pond Circulation: All ponds tend to need some level of dissolved oxygen in water, especially ponds with fish.
Koi fish tends to need dissolved oxygen to breathe.
Moreover, oxygen also helps to keep the water healthy, enabling the beneficial bacteria to break down biological wastes in the water.
Oxygenated water also discourages harmful bacteria from taking over a pond.
An aerated pond also helps your fish in winter when the top of the pond ices over.
It is important to note that fountains and waterfalls are natural aerators.
However, if they should stop running, it can cause a breakdown in the delicate balance of the ecosystem.
Thus deciding whether you need a dedicated aeration system that depends on how many fish you have and the size of your pond.
A small or medium pond that is heavily stocked with koi will need a backup aeration system.
Safety and Permitting
Before you begin digging the ground, call your local utility location.
Water, gas, electrical, and sewer lines are a minimum of 12 to 24 inches deep in the ground.
Given the depth of the koi pond, the likelihood of inadvertently hitting a line is great.
Moreover, small fountains or garden ponds may not need permits.
However, due to the large size of the koi pond, it may require permits.
Most types of plumbing and electrical work will also require permits.
Building a Koi Pond
To build a koi pond, follow the steps:
Equipment/Tools: You will need:
- shovel
- marking paint
- garden hose
- tape measure
- backhoe, optional
Materials: You will need:
- 45 mil EPDM liner
- 4-inch flexible hose pipe
- 4-inch drain
- Decorative stones
- Settling chamber
- Mechanical surface skimmer
- Biological filters
Instructions
Follow the instructions below:
Step 1: Lay out the Pond: Lay out a garden hose in the garden to trace the rough outlines of the pond.
You will need to scale the pond upward to accommodate the fish as they grow.
This will also build rooms in case you add more koi, and you can experiment with a number of shapes.
Step 2: Dig Pond: Dig the pond by hand or you can hire heavy equipment to reach the required depth.
Rather than creating tall sides, you can terrace the sides by about 5 to 7 inches per step.
Step 3: Add a Drain: Then trench out the pond to create a drain at the lowest point and run the flexible hose pipe.
Step 4: Add Pond Liner: With a helper, unfold the EPDM liner and fit it close to the contours of the pond.
It will help to do this on a warm day, as the EPDM is more pliable and the liner should extend onto the banks of the pond by at least a foot.
Step 5: Add Stones: Lay down smooth stones along the bottom of the pond, and place the larger flat ones on the bank to hold down the edges of the liner.
EPDM deteriorates faster when it is subjected to sunlight, so make sure to cover all exposed sections.
Step 6: Install Setting Chamber: The drain pipe of the pond will run over to and up to the settling chamber.
The settling chamber should be on the surface and you can hide behind plants, rocks, or an enclosure.
Step 7: Install Water Pump: Buy a pump with a gallon per hour, GPH rate that equals half or more of the pond water volume.
This will help to make sure that the water will recirculate every few hours.
Moreover, the pump should be submerged. The unit pumps water to the settling chamber.
Step 8: Fill in Water: Use a garden hose to fill the pond with water and keep an eye on the pond so that it does not overflow.
Step 9: Add Mechanical Surface Skimmers: Electrically operated surface skimmers will mechanically separate small pieces of debris from the water.
Some of the skimmers tend to float on the surface or an installed off to the side.
Step 10: Add Biological Filtration: Biological filtration methods will help balance out the aquatic system by breaking down or slowing unwanted biological growth.
You will have a wide range of biological filtration options that includes plants and animals:
- poots in submersible tubs
- lily pads
- water lettuce
- waterweed
- smartweed
- snails
- frogs
- birds
- bats
Step 11: Introduce Koi to Pond: First, place the koi in bags that contain the pond water.
Let the acclimate for about 15 minutes, and then place the bags in the pond water and let the fish swim out.
Add just a few fish to the pond at a time, no more than 5 or 6 in the 5 to 6-inch size range.
This will let your biological filters adapt to the koi. Keep a close eye on the koi in the first week or two for parasites or any biological problems.


Leave a Reply