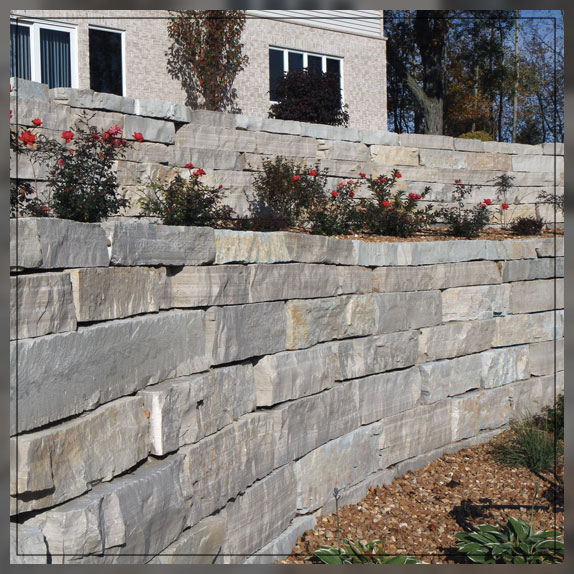
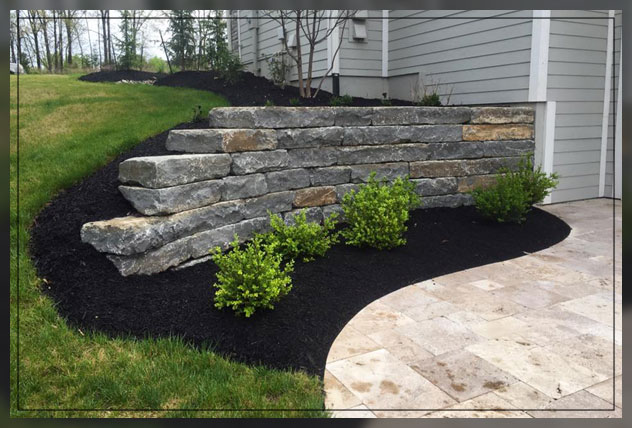
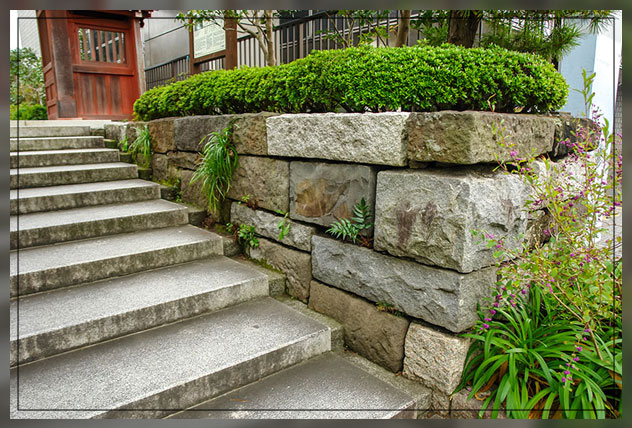
A stone retaining wall allows you to expand your usable space by transitioning from one level of the ground to another.
However, it has many other benefits such as controlling erosion.
You can build it yourself as long as the wall is only 3 feet tall.
This article discusses how to build this wall and why you should be building it for the landscaping of your yard.
Building a Stone Retaining Wall
What You Will Need
Before building anything, collect all the necessary material required.
This does include rocks, but there re also other important items such as:
- Materials like landscape fabric, coarse sand, drainage gravel, masonry adhesive, field/cut stone and compactible gravel
- Tools like a shovel, wheelbarrow, rake, sledgehammer, tamper
- wood stakes, line level and string, mallet, mason’s line, screenings, four foot carpenter’s level
- brick chisel, utility knife, Short 2×4 board, hand tamp
Easy Way to Make It
The easiest way to make a stone retaining wall is using the dry stack method.
Now you must be wondering what this is.
The dry-stack walls permit the water to pass through them, hence, they drain well.
As a result, it reduces the hydrostatic pressure due to the wet soil behind the wall.
This hydrostatic pressure is one of the most common reasons why retaining walls fail.
Having proper drainage will keep the wall in good condition for years extending its lifespan and maintaining its integrity.
Moreover, it is easy to build as it does not require any mortar between stones.
It will also not require a concrete footing as most mortar walls will need.
Moreover, if you back fill this wall with rocks, it will promote drainage through the wall.
Additionally, that will prevent the soil from pushing through the walls cracks in the stones.
Let’s know about this and other ways to build the wall below.
Planning and Building
Once you have all the materials in place, it is time to look into the size as well as the scope of the your building plan.
Find out the height and length of your wall as there are certain considerations to abide by.
You may not be able to make a wall on your own that is greater than 30 inches.
Usually areas will need an engineering stamp for any wall that is over 3 or 4 feet.
However, most only allow you to build a little till 30 inches.
You need to know the building code rules as well as the zoning laws regarding the retaining walls.
The city will also need inspections and permit for a retaining wall of any different height.
So you need to check these things before you start building, even if you are the one building the wall yourself.
The width of the wall depends on its height.
You will need 1 foot of thickness for each vertical foot.
Hence a 3 feet tall wall will need to have a 3 feet base as well supporting it.
After you are clear on the size, consider the stones you will deploy as well as the pressure that will exert on the wall.
Will it be able to bear that?
Look into how steep the slope of the wall is.
Once you have considered these factors you can start building.
Let’s know more on that below!
Step By Step Guide on Building a Stone Retaining Wall
Step 1: Organizing Stones
Look at the stones you are about to use on the wall.
Organize them meticulously according to the size and shape.
While organizing your stones you should place the biggest and widest at the bottom.
The widest, prettiest and the smoothest stones should be for the top of the wall and capstones.
If there are any odd pieces, you do not need to through them away.
Rather you will only need to adjust them in the middle with the regular pieces in order to maintain the consistency.
Knock off formations and peaks with hammer and brick chisel in order to fit them during the construction.
Step 2: Mark the Level
After organizing the stones, take the mason line and the wooden stakes in order to evaluate the level and layout of where the wall will be.
This will help identify the front face of the wall’s base.
Moreover, the string represents the front of the trench. The width should be equal one half of total wall height.
For a wall 30 inches tall, the width should be 15 inches wide.
In order to mark the level, place a line level on the string.
Next pull the string from one end to level the line.
After that, tie it off to a stake.
This gives the dimensions of the base of the wall.
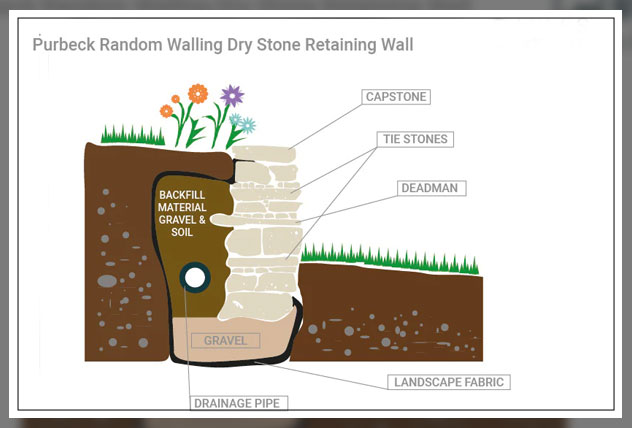
Excavating the Area
This is a rather hard part.
Here you will have to dig a trench that is a foot deep and wide as the base.
Start from the string and move to the slope.
Dig till up to 12 inches in ground to have a flat trench for the gravel base and first course of block.
Continue to dig in the slope with a 6 to 12 inch wide space that lies between the backside of the wall and slope for drainage rock.
Ensure the excavation is level by measuring down from the level line.
The 12 inches below in the trench will give you enough space to fill it with drainage rocks and the first big blocks that will hold and anchor the base.
Stone Wall Retaining Steps
Adding Landscape Fabric
After making the excavated area, cover it with the strips of landscape fabric that are not plastic.
They will extend a few feet in the upper ground level and are placed perpendicular to the wall.
Overlap the strips by 6 inches cutting them using a utility knife.
Laying Down Wall Base
Add gravel at the lowest level around 5 inches deep.
After it is down and adjusted using a rake, compact the stone with a tamper.
Next add an inch of sand that covers the cracks and makes a bed smooth enough for the first building blocks. Smoothen everything so it is level.
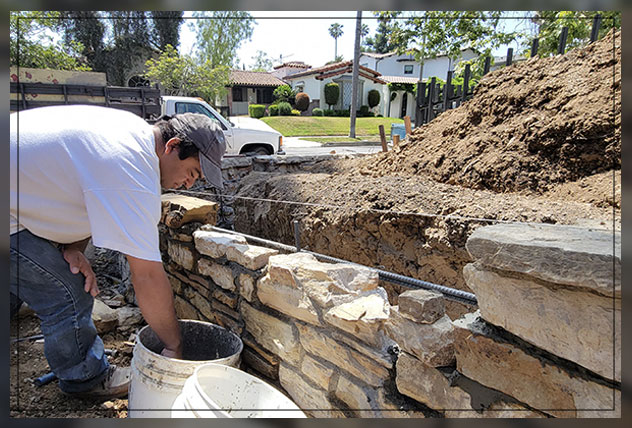
Laying First Course
Use large and flat stones in the front edge to make the first course.
Remove and add sand below each stone so that the top of the stones are flushed with other stones.
This way, they will be laid flat to have a level surface on top.
Usually it is the big and durable stones that will go down first.
Laying the Second Level
Use large stones for the second layer too. However, you need to offset them so that they cover spaces below the rocks.
These stones should be placed a thumb width back from the string than the first course.
This provides the structural stability to cope with pressure from the backfill.
Use the four foot level to keep the surface level at the top. You can also use smaller rocks as shims to ensure everything is interlaced and solid.
Backfill the Wall
After layering the bases, fill the space between slope and the wall with drainage gravel.
Rake it flat and level.
Also, tamp it with a hand tamp.
Then backfill it with the highest course on wall.
Only go as high as the second level of rocks.
Completion and Tips
Install Courses
You will need to keep layering the subsequent layers of stone. Then continue backfilling the wall with gravel after layering more levels.
Finish the Top
As you are nearing the top of the wall, fold the landscape fabric over the gravel.
Do this before two standard courses or the capstone.
That depends on how much soil there should be on the top of the wall.
Lay the final course or the capstones at the top. You can also glue the capstones to the course layer that is below it using a masonry adhesive.
That helps keep it in place.
Backfill with Soil
Trim and cover the landscape fabric so that it is below the top of wall and backfill the top with soil.
If you want to grow grass at this place, keep the soil layer at least 6 inches thick.
Tips
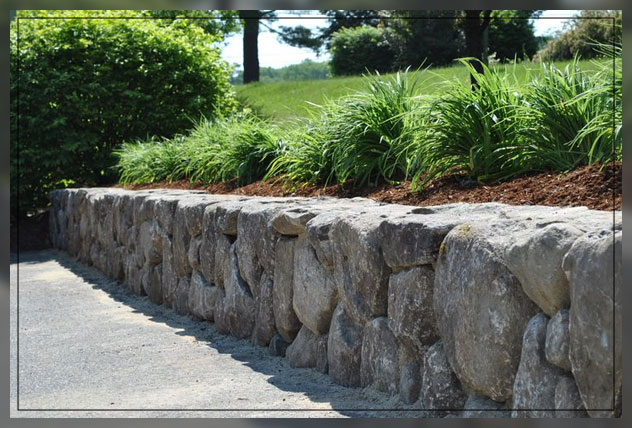
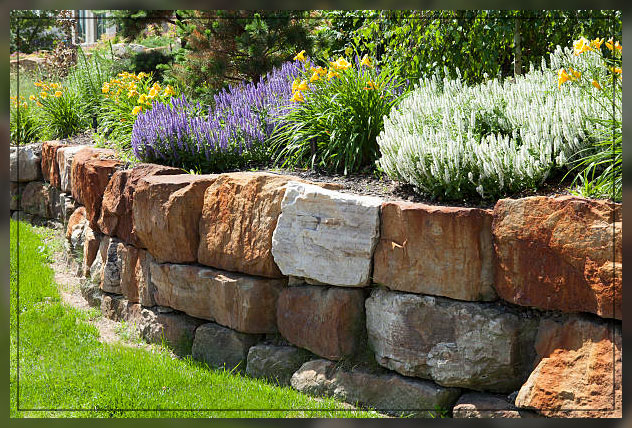
- Choose a flat stone. If you are buying stones for building the wall, choose flat or cut stones rather than fieldstone as that make a sturdier wall.
- You can also use natural fieldstone on your property provided they are flat enough to stack up.
- For a natural look, you should add plants in random various places on the wall. Rougher stones contain enough gaps for planting and packing soil.
- Add some cascading plants such as creeping thyme and perennial yellow asylum. They look lovely spilling down from the stone walls.
- While using cut stone, plan for plantable gaps while you are building it.
Finally,
Here is how you can make a stone retaining wall on your own.
However, it is a tough procedure.
Therefore, use Al Ardh Alkadra’s help to make hard landscape and soft landscape for your garden.
Our experts will build the stone retaining wall according to your needs and in compliance with the standards.


Leave a Reply